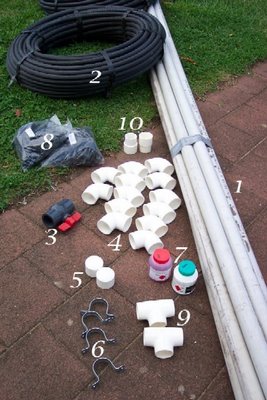
The supplies have arrived and well within my initial price estimates. What’s the bet I’ve forgotten something?
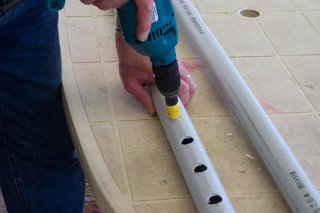
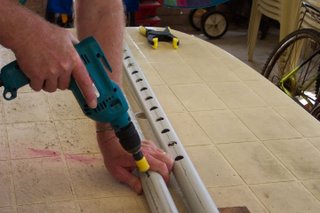
Key1 - 40mm, Class 9 PVC pipe
2 - 19mm x 200m low density poly pipe
3 - PVC ball valve – 32mm
4 - 40mm PVC elbow
5 - 40mm PVC cap
6 - 50mm metal saddle
7 - Priming fluid and solvent
8 - Drip-loc Grommet takeoff 19mm
9 - 32mm PVC tee
10 - PVC coupling 40mm to 32mm
When we worked out exactly what we wanted Mike then did some calculations and said that he can supply 40mm for cheaper than 32mm. The existing pipe that returns water into the pool is 32mm.
As the drip loc fittings come in packets of 25, he did a really good price on two packets giving a total of 50 (only needed 32) rather than splitting them up. These particular19mm fittings will not work on PVC pipe less than 40mm in diameter anyway. If I used 16mm low density poly I could have used 32mm drip loc fittings. These are a weak point in the design IMHO – I hope that they don’t leak.
The price – plenty of change from $350. The lot cost $274 with GST. Huge Grin.
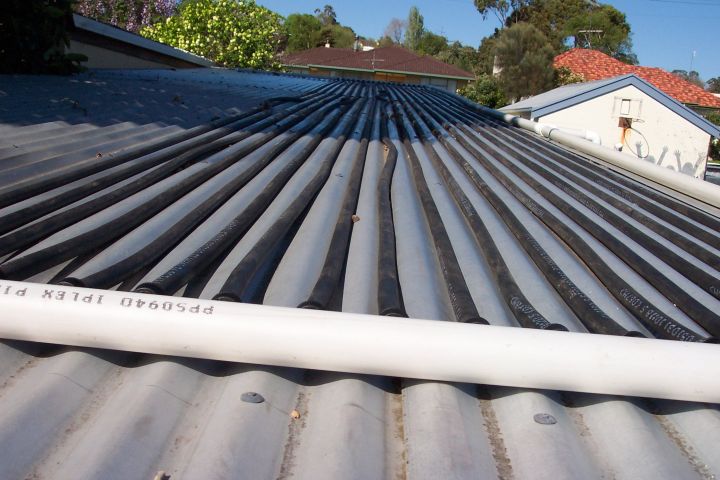
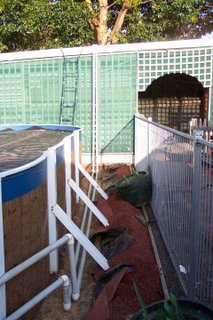
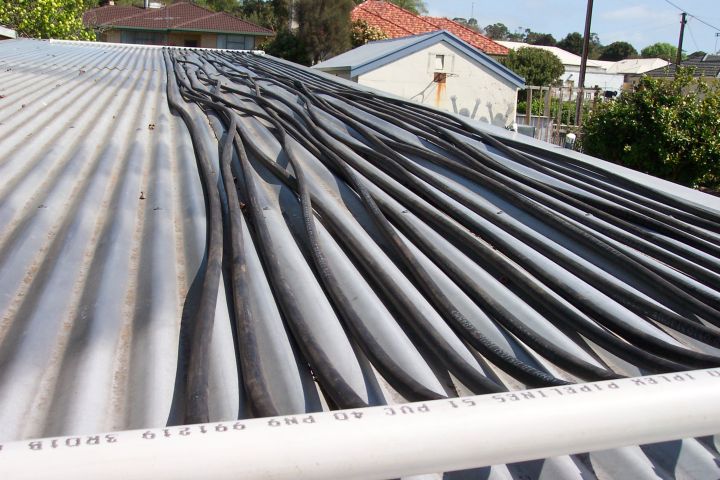
PROJECT: Solar pool heater.
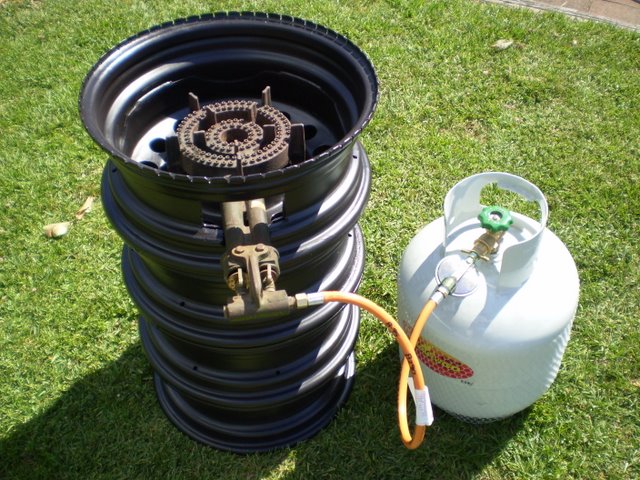
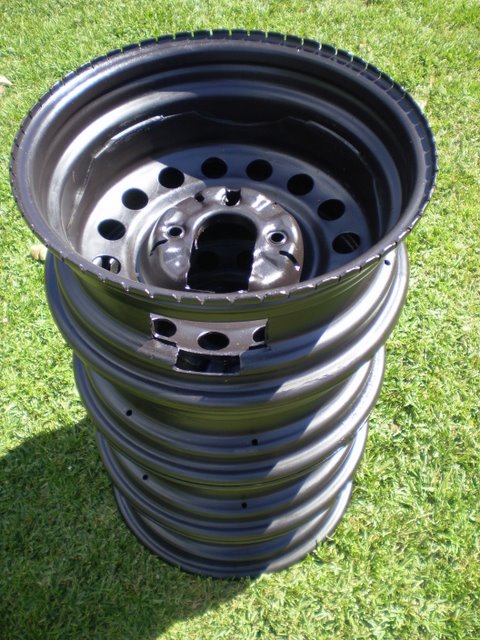
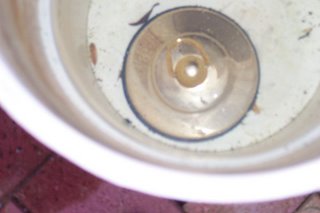
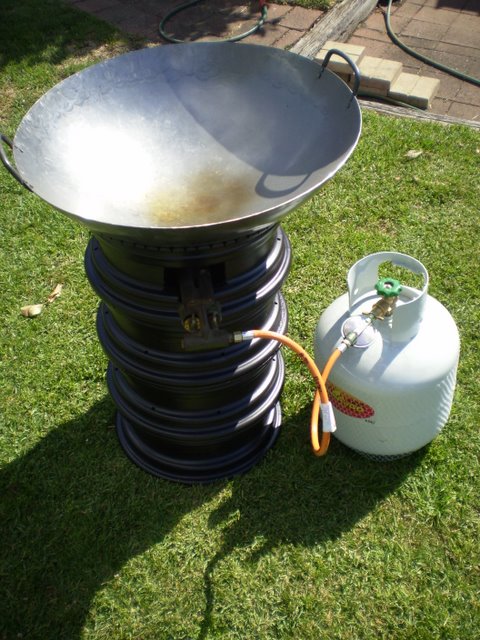 I forgot to meantion in previous posts that I painted it with some Pot Belly Black paint. The completed setup with wok will work nicely. I have accidentally discovered that a plastic rubbish bin lid fits nicely on top of the structure once the wok has been removed.