Saturday, October 21, 2006

Grey water through the dunny

Josie Lipstick posted an entry indicating that water from the 'shower and sink' could be recycled through the dunny before ending up in the sewer. I like this idea and would like to find out more about how this system might work. I wonder what elements are required? I would love an effective way of using water from kitchen, bathroom and laundry in some way before it ends up in the sewer.

Wednesday, October 04, 2006

First Day of operations


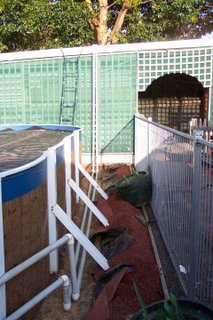
The plumbing was allowed to sit overnight to ensure that the adhesives used had cured properly. The following morning the pump was switched on with the tap in the open position. The the tap was slowly moved toward the closed position until we could hear water moving through the pipes. Lots of air was shot into the pool as the solar collector filled with water. Then the tap was moved into the closed position.

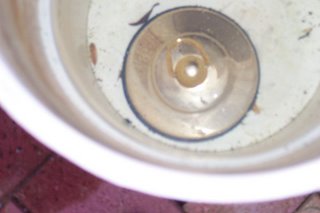
Two of the drip-loc fittings produced bubbles, from the detergent lubrication, as air was forced out of the system. I was concerned that some might leak but not even a drip from one of the fittings. Fantastic.

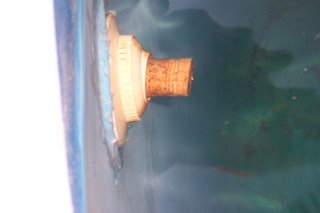
So I left the system on for about 4 hours from midday to 4:00pm. The original pool temperature was 14 degrees celcius and by 4:00pm had climbed to 16 degrees. According to the Elders weather site the day's maximum was 23 degrees. I also compared the temperature of the pool water with that coming out of the solar collector. The solar collector was adding almost 2 degrees to the temperature of the water.

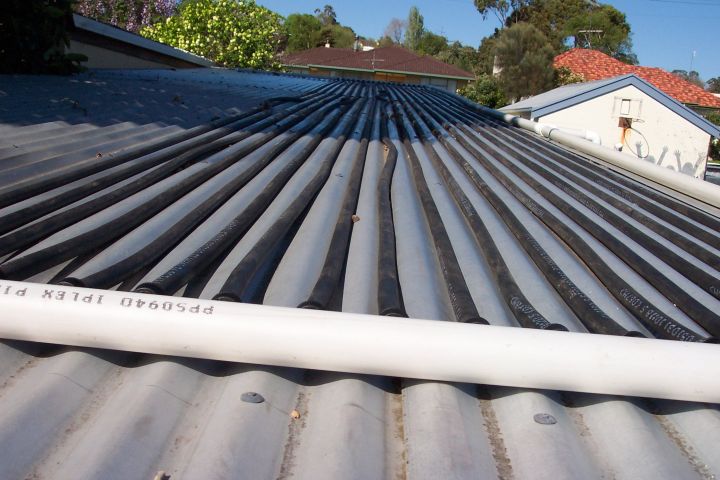
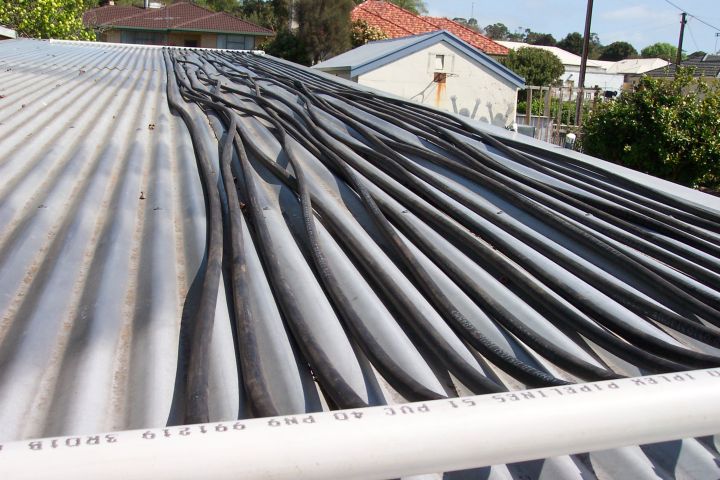
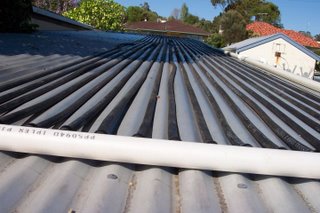
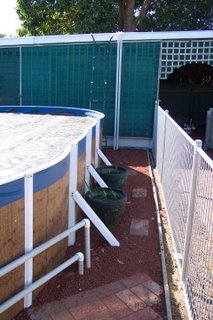
While all of that was happening I covered over the pipe and straightened up the poly tubing as best I could.

I did not need to purchase further components. I had 1.5 lengths of PVC pipe left over.

PROJECT: Solar pool heater.

Tuesday, October 03, 2006

Complete the plumbing


Having sealed the pool I could cut the pipe that returns the filtered water back to the pool and complete the plumbing to the solar collector manifolds. I fitted the Tee pieces and the tap into this pipe. My idea is that when the tap is in the off position, water from the filter is forced through the solar heat collector (bottom pipe) through the lower manifold and the heated water is returned via the top manifold to the pool via the top pipe.


PROJECT: Solar pool heater.

Keep the water in the pool


Now it was time to complete the plumbing from the manifolds to the pool. We needed to keep the water in the pool which was achieved using a bath plug in the skimmer box and sparkling wine cork in the outlet that returns water to the pool.


PROJECT: Solar pool heater.

Fit poly tubing


I lay the bottom manifold on the lower end of the roof close to the 11m mark. I did not fix this to the roof.

I had precut the tubing to 11m lengths on the ground. Two chalk marks on the driveway did the trick for getting even lengths.

These lengths required pushing onto the take off and then a screw cap is forced up over this spur to secure the pipe.

The day was not warm enough and so the pipe did not lay flat in the valleys of the corregations.

PROJECT: Solar pool heater.

Mount the top manifold


Mount the manifold which will be at the highest point. A couple of saddles pop rivetted to the iron roof.

PROJECT: Solar pool heater.

Fit take offs


Fitting the take offs was a challenge. Some went in easier than others and by the time it came to putting in the 36th I had a system. Gentle pressure with a slight movement from side to side. Ensure that the grommet and take off are lubricated with some slightly diluted dishwashing detergent.

Watch your fingers.

PROJECT: Solar pool heater.

Fit Grommets


The holesaw left lots of roughness on the holes. I scraped these off, inside and outside and finished the holes off with a light sanding. I noticed that this made the fitting of the grommets easier when I campared it to the test hole that I had made in a bit of scrap pipe that I had not cleaned up. The other thing that helped was to use a bit of slightly diluted dishwashing detergent as a lubricant.

The grommets fit only one way. The grommets have a curved groove in them to allow for the curve of the PVC pipe.

Look carefully on the diagram from Drip-loc. There is small bevel of the grommet and this ends up on the inside of the pipe.

Take care that these grommets are set properly into the pipe. The inside of the grommet will be round if this is so.

PROJECT: Solar pool heater.

Drill the holes


I worked out that the valleys in corrogated iron roofing material are 75mm apart. My roof is a little over 3.5m wide and about 13m long. So to start making the two manifolds, I cut two lengths of the PVC pipe to 3m and then proceeded to mark 25mm centres.

Firstly I lay the pipe of the ground in a way that it would not roll around. I found a piece of 19mm board and rested a fine point texta onto it. I used this to make a line along the length of the pipe. Then I marked the 75mm centres.


I have 200m of poly tubing and wanted the length of these runs to be 11m long. This meant that I would only be drilling 18 of these holes in each manifold. I alalowed extra length on the manifold to allow for more poly runs to be added later if I needed or wanted.

PROJECT: Solar pool heater.

Drip-Loc instructions


Yesterday was solar pool heating construction day. Mike from the rural irrigation store gave me (way back at the time of purchaing the goods) a photocopy of some manufacturer specifications that were critical to making this project. I was using 19mm black poly tubing into 40mm pvc pipe (minimum allowed so it turns out for these fittings) and so needed a hole saw 22mm in diameter. It says to use slow speed hand drills - mine is variable speed which I can use at slow speed.

PROJECT: Solar pool heater.